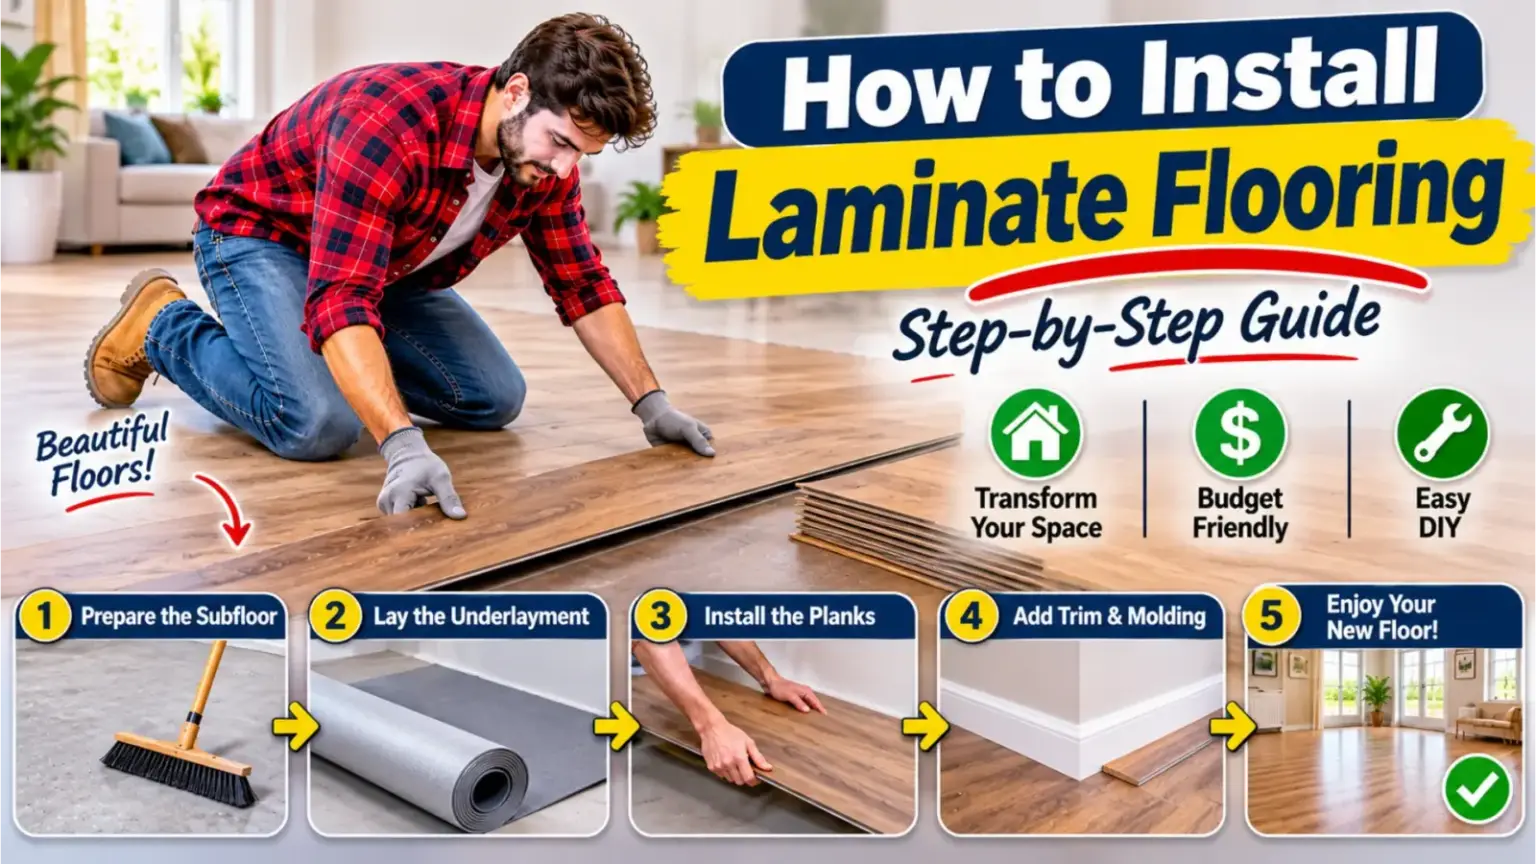
How to Install Laminate Flooring: Step-by-Step DIY Guide
Here’s the short answer on how to install laminate flooring: let the boxes acclimate in the room for about 48 hours, make sure the subfloor is clean, dry, and flat, lay a 6-mil vapor barrier over concrete and one layer of underlayment (unless the planks have a pad attached), then click the planks together row by row, staggering the end joints and leaving an expansion gap of about 1/4 to 3/8 inch at every wall. Finish with transitions and baseboards that cover the gap without pinning the floor down.
Laminate is a floating floor, so it’s never nailed or glued to the subfloor. That makes it one of the most DIY-friendly floors. This guide covers tools, choosing laminate, subfloor prep, underlayment, layout, cutting, every installation step, doorways, stairs, kitchens and bathrooms, and the mistakes that cause gaps, peaking, and swelling.
What Is Laminate Flooring?
Laminate flooring is a multi-layer floor with a high-density fiberboard (HDF) core, a printed photo layer that looks like wood or stone, and a tough clear wear layer on top. Most modern laminate uses a click-lock system (glueless tongue and groove) and installs as a floating floor.
- Strengths: very scratch resistant, realistic looks, budget-friendly, quick to install.
- Weakness: standard laminate’s wood-based core can swell if water sits on it. Water-resistant and waterproof laminate lines handle spills better.
Laminate Specs to Check Before Buying
| Spec | What It Means | What to Look For |
|---|---|---|
| AC rating | Abrasion and wear resistance, AC1 to AC5 | AC3 for most homes; AC4 for busy households or light commercial |
| Thickness | Often 7 mm to 12 mm | Thicker planks feel more solid and sound quieter |
| Attached pad | Underlayment built onto the plank | Saves time; don’t add a second cushion layer |
| Water resistance | Standard, water-resistant, or waterproof | Water-resistant or waterproof lines for kitchens and entries |
| Locking system | How planks click together | Angle-angle or drop-lock systems from known brands hold seams well |
Tools and Materials You’ll Need
Tools
- Tape measure, pencil, and speed square
- Laminate installation kit (spacers, tapping block, and pull bar)
- Rubber mallet
- Saw: miter saw for crosscuts, table saw or circular saw for rips, and a jigsaw for notches. A laminate cutter makes quieter, dust-free crosscuts.
- Fine-tooth or carbide-tipped blade
- Jamb saw or oscillating multi-tool for undercutting door casings
- Straightedge or long level to check flatness
- Utility knife and tape
- Pry bar for baseboards
- Safety glasses, dust mask, hearing protection, and knee pads
Materials
- Laminate planks, plus about 10% extra for waste (about 15% for diagonal layouts)
- Underlayment, if the planks don’t have one attached
- 6-mil polyethylene vapor barrier for concrete subfloors (if your underlayment doesn’t include one)
- Seam tape for the vapor barrier or underlayment
- Floor patch or self-leveling compound
- Transition strips: T-molding, reducer, end cap, and stair nose as needed
- Baseboards or quarter round, and finish nails
- 100% silicone sealant for edges in wet areas, if the instructions call for it
How Much Laminate Do You Need?
- Measure each room’s length and width in feet and multiply for the square footage.
- Add closets and alcoves separately.
- Add about 10% for cuts and waste. Example: a 14 x 16 room is 224 square feet, plus 10% is about 247 square feet.
- Divide by the square feet per carton and round up.
Buy all cartons at once and check that the lot numbers match, since colors can vary between runs.
Step 1: Acclimate the Laminate
Laminate’s core expands and contracts with temperature and humidity. Lay the unopened cartons flat in the room where they’ll be installed, usually for at least 48 hours, at normal living temperature and humidity. Some products need longer in very dry or humid climates, and some say no acclimation is needed. Always follow your product’s instructions.
Step 2: Prepare the Room
- Remove furniture and the old flooring if needed. Carpet, pad, and tack strips must come out.
- Remove baseboards carefully with a pry bar and number them for reinstalling.
- Remove old thresholds and transitions.
- Undercut door casings and jambs: lay a plank on a piece of underlayment against the casing and cut along its top with a jamb saw, so new planks can slide underneath.
- Take off doors that will swing over the new floor, and check that they’ll clear the new height.
Step 3: Prepare the Subfloor
The subfloor must be clean, dry, structurally sound, and flat. Most laminate failures, like bouncing, gaps, and broken joints, start with a bad subfloor.
- Check flatness with a long straightedge. Many manufacturers require the floor to be flat within about 3/16 inch over 10 feet, but use your product’s exact tolerance.
- Grind or sand high spots and fill low spots with floor patch or self-leveling compound.
- Fix squeaks by screwing loose plywood or OSB into the joists.
- Test concrete for moisture as your manufacturer requires, and let new concrete cure fully.
- Vacuum thoroughly. Debris under the floor causes bumps and noise.
Can You Install Laminate Over Existing Floors?
| Existing Floor | Install Over It? | Notes |
|---|---|---|
| Plywood or OSB | Yes | Secure, flat, and dry |
| Concrete | Yes | Vapor barrier required; test moisture |
| Ceramic tile | Usually | Must be flat and secure; fill deep grout lines |
| Sheet vinyl or linoleum | Usually | Must be one firmly attached layer |
| Hardwood | Usually | Run laminate perpendicular to the old boards if possible |
| Carpet | No | Remove carpet, pad, and tack strips |
| Another floating floor | No | Remove it first |
Step 4: Install the Vapor Barrier and Underlayment
Laminate almost always needs underlayment, and concrete almost always needs a moisture barrier. As BuildDirect’s laminate installation instructions put it, a 6-mil polyethylene vapor barrier goes over a cement subfloor, underlayment padding goes above the vapor barrier, and if a pad is pre-attached, no additional underlayment should be used.
- Over concrete: roll out 6-mil poly with seams overlapped (often about 8 inches) and taped, running it slightly up the walls. Some underlayments have a vapor barrier built in.
- Over wood subfloors: use a standard laminate underlayment. A vapor barrier usually isn’t needed unless the instructions say so.
- Attached pad: skip extra cushion underlayment. Doubling up can make the floor bouncy and break the locks, and it may void the warranty.
- Lay underlayment as you go, one or two rows ahead, so you’re not walking on it all day.
Step 5: Plan the Layout
- Direction: run planks parallel to the longest wall or toward the main light source, like a large window. This hides seams and makes rooms look longer.
- Avoid a skinny last row: measure the room width, subtract the two expansion gaps, and divide by the plank width. If the last row would be narrower than about 2 inches, rip the first row narrower so both edge rows are a decent width.
- Check that walls are straight: walls are often crooked. Snap a chalk line to keep rows straight, and scribe the first row to the wall if needed.
- Mix planks from several boxes so colors and patterns are spread evenly.
Step 6: Install the First Row
- Place spacers along the starting wall to hold the expansion gap. Many products call for about 1/4 to 3/8 inch.
- Cut off the tongue on the side of first-row planks facing the wall, if your instructions say to.
- Start in the left corner of the starting wall (for most click systems), with the tongue side facing the wall.
- Connect the short ends by angling in and pressing down, or by tapping with a tapping block, depending on your system.
- Measure and cut the last plank of the row, leaving the expansion gap at the far wall.
- Check straightness against your chalk line before moving on.
Step 7: How to Cut Laminate Flooring
- Crosscuts: use a miter saw or laminate cutter. With a power saw, cut with the decorative face up on a miter saw or table saw, and face down with a circular saw or jigsaw, to reduce chipping.
- Rip cuts (lengthwise): use a table saw or circular saw with a straightedge guide.
- Notches and curves: use a jigsaw. Make a cardboard template for odd shapes.
- Pipe holes: drill a hole slightly larger than the pipe, cut the plank through the hole’s center, fit both pieces around the pipe, glue the small piece back, and cover with a pipe collar.
- Cut outside or in a garage when possible, since cutting HDF makes fine dust. Wear a dust mask.
Step 8: Install the Remaining Rows
- Start row two with the cut-off piece from row one, if it meets the minimum length in your instructions (often about 8 to 12 inches).
- Stagger end joints at least about 8 to 12 inches apart from row to row, or as your instructions say. Avoid repeating stair-step patterns.
- Angle the long edge of each new plank into the previous row and press it down until it locks.
- Close the short joints with gentle taps on a tapping block. Never hit the plank edge directly with a hammer.
- Check for gaps every few rows and fix any open seams right away.
- Keep spacers in place along every wall and fixed object.
Step 9: Install the Last Row
- Lay a full plank exactly on top of the second-to-last row.
- Place another plank on top, pushed against the wall spacers, and use its edge to trace a line on the plank below.
- Rip along the line. The cut piece will fit the space while leaving the expansion gap.
- Lock it into place and snug it tight with a pull bar.
Step 10: Doorways and Transitions
- Under door casings: slide planks under the undercut casing. If you can’t angle a plank in, you may need to trim the locking lip and glue that joint, if your manufacturer allows.
- T-molding: joins laminate to another floor of similar height, and often marks an expansion break between rooms.
- Reducer: steps down to a lower floor like vinyl or concrete.
- End cap (threshold): finishes edges at sliding doors, fireplaces, and exterior doors.
- Large rooms: many products require an expansion break when runs exceed a maximum length or width. Check your instructions.
- Fasten transition tracks to the subfloor, never through the laminate.
Step 11: Finish the Edges
- Remove all spacers.
- Reinstall baseboards or add quarter round to cover the expansion gap.
- Nail trim into the wall, not down into the floor, so the floor can move freely.
- Seal edges around tubs, toilets, and exterior doors with 100% silicone if your instructions call for it.
- Rehang doors and trim them if they drag.
- Clean the floor with a dry or barely damp mop and add felt pads to furniture.
Installing Laminate in Kitchens and Bathrooms
- Choose the right product. Standard laminate isn’t meant for wet areas. Use a water-resistant or waterproof laminate approved for those rooms.
- Kitchen cabinets and islands: install around fixed cabinets and islands, not under them. Heavy fixed objects pin a floating floor and cause buckling.
- Toilets: remove the toilet, install up to the flange with a small gap, then reset the toilet with a new wax ring and seal edges as directed.
- Dishwashers: check that the dishwasher can still slide out after the new floor raises the height.
Installing Laminate on Stairs
Stairs are an advanced project. Laminate on stairs is glued down rather than floated, with treads and risers cut to fit and a matching stair nose secured at each step edge. Use the manufacturer’s stair components and adhesive, and make sure every piece is solidly attached, since loose stair parts are a fall hazard.
Common Laminate Installation Mistakes
| Mistake | What Happens | How to Avoid It |
|---|---|---|
| No expansion gap | Peaking and buckling | Use spacers at every wall and fixed object |
| Skipping subfloor prep | Bounce, gaps, broken joints, noise | Level and clean the subfloor first |
| No vapor barrier on concrete | Moisture damage and swelling | Install 6-mil poly or a barrier underlayment |
| Double underlayment | Spongy floor and failed locks | One layer only; none extra with an attached pad |
| Nailing trim into the floor | Floor can’t move and buckles | Nail trim to the wall |
| Installing under cabinets or islands | Floor gets pinned | Install around fixed objects |
| Poor stagger | Weak, unnatural-looking floor | Follow minimum stagger rules |
| Hitting planks directly | Damaged locking edges | Always use a tapping block |
How Long Does It Take to Install Laminate?
It depends on room size, layout, subfloor condition, and experience. A beginner can often finish a simple bedroom in a day, while a whole floor with many doorways and transitions can take a weekend or more. Subfloor leveling and trim work often take as long as laying the planks.
Laminate vs Vinyl Plank Installation
Both install as click-lock floating floors, but there are key differences. Laminate usually needs a saw for clean cuts, while many vinyl planks can be scored and snapped with a utility knife. Laminate almost always needs underlayment and is less forgiving of water. Vinyl plank is waterproof and often better for bathrooms and basements. Laminate is often harder and more scratch resistant.
Frequently Asked Questions
Do you need underlayment for laminate flooring?
Yes, unless the planks have a pad attached. Over concrete, a vapor barrier is also needed, either as separate poly film or built into the underlayment.
Which way should laminate flooring run?
Usually parallel to the longest wall or toward the main window or entry, which makes the room look larger and hides seams.
Do you start laminate on the left or right?
Most click systems start in the left corner of the starting wall with the tongue facing the wall, but check your product’s instructions.
How big should the expansion gap be for laminate?
Often about 1/4 to 3/8 inch around the perimeter and fixed objects, but use the exact size your manufacturer lists.
Can laminate be installed in a bathroom?
Only water-resistant or waterproof laminate approved for bathrooms. Standard laminate can swell from standing water.
Can you install laminate over carpet?
No. Carpet and pad must be removed, since the floor needs a firm, flat base.
Should laminate be glued or nailed down?
No. Laminate is a floating floor. Gluing or nailing it down prevents normal movement and can cause buckling, except for special cases like stairs.
Why is my laminate floor separating or peaking?
Separating usually comes from an uneven subfloor, damaged joints, or big humidity swings. Peaking usually means the floor has no room to expand, often from a missing gap or pinned edges.
Can I install laminate myself?
Yes. Click-lock laminate is one of the most DIY-friendly floors, especially in simple rectangular rooms. Consider a pro for stairs, major leveling, or complex layouts.
How soon can you walk on new laminate flooring?
Right away in most cases, since click-lock laminate isn’t glued. Wait to move heavy furniture until trim is installed, and use felt pads and furniture sliders to protect the surface.
The Bottom Line
Knowing how to install laminate flooring comes down to preparation. Acclimate the planks, make the subfloor flat, clean, and dry, use a vapor barrier over concrete and one layer of underlayment, plan your layout, stagger the seams, and always leave an expansion gap. Follow your product’s instructions for every detail, and you’ll end up with a durable, great-looking floor you installed yourself.
Keep reading
 Interior & Decor
9×12 Area Rugs: Room Fit, Placement, Materials, and Prices
 DIY Tools & Measurements
What Is a Linear Foot? Meaning, Formula, and Examples
More in Flooring →